Steph Mader
  • Glass Particle Landscapes
  • Available Work
  • Portfolio
  • Contact & Schedule
  • WORKSHOPS
  • Blog

Hello, Holidays!

11/20/2018

 
Picture
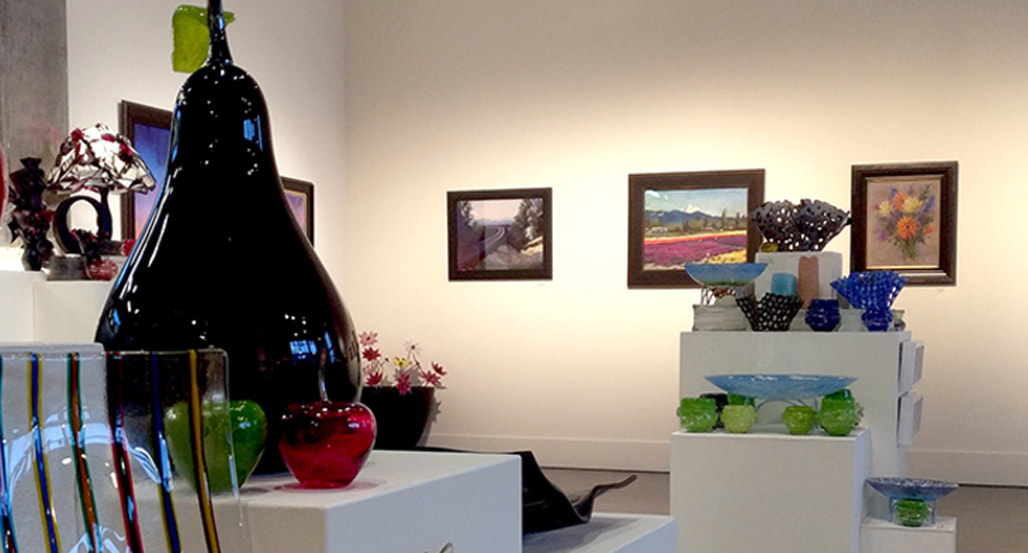
Well, this will get you in a festive mood.  There's a Holiday Exhibition at the Schack Art Center in Everett, Washington. Can I just say? Handmade Heaven.

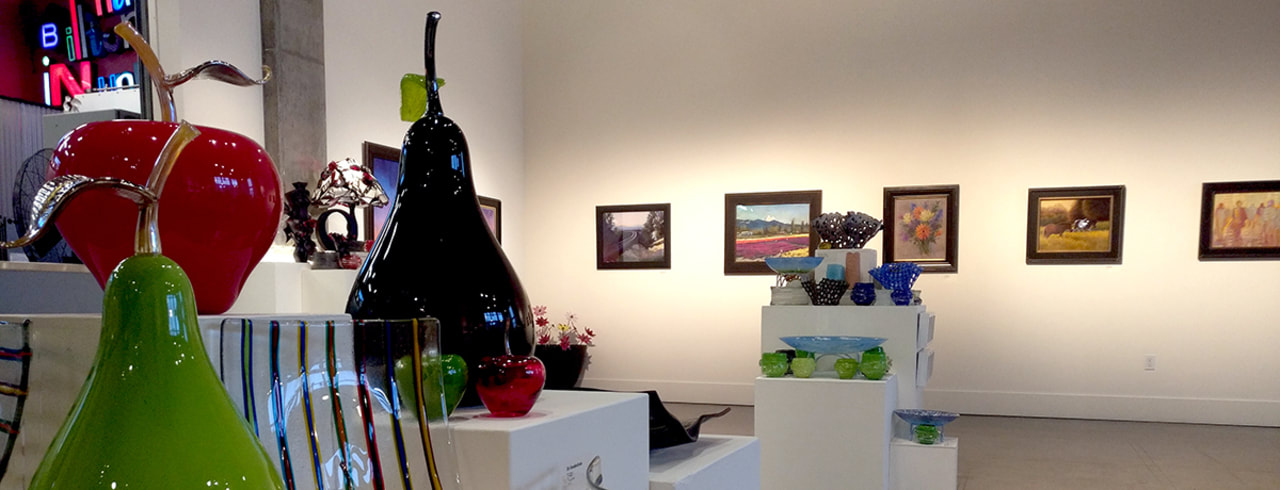
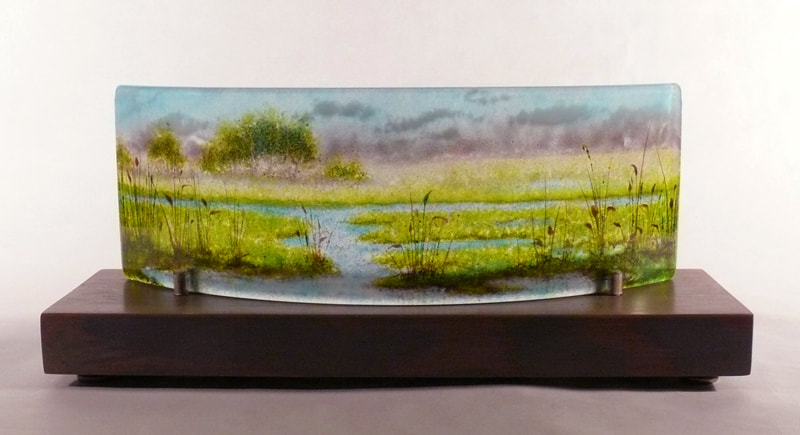
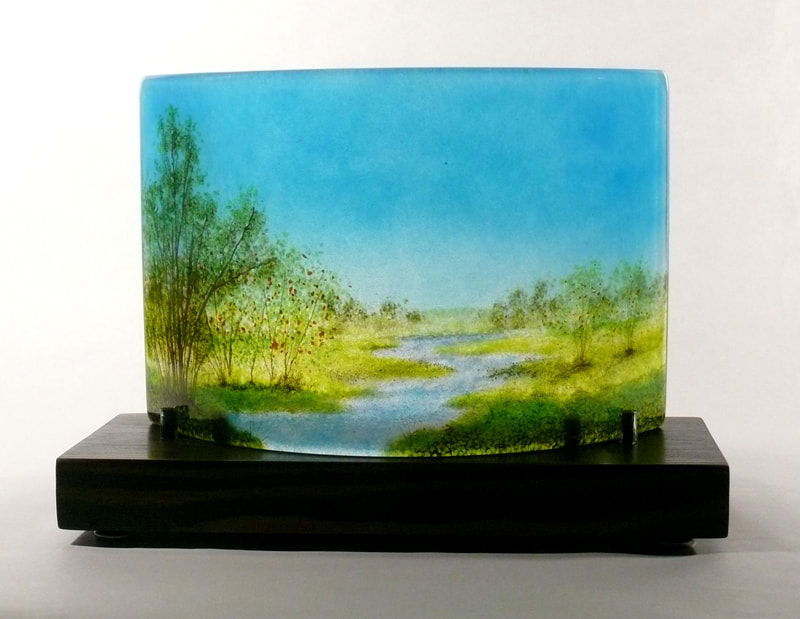
Those are my bowls on the right-hand pedestals. This gallery does it right. The Northwest Pastel Society has a lovely show on the wall, and the rest of the space is filled with glass, ceramics and jewelry. Ahhhhhh. Sparkly.

Remember, if you buy handmade for the artsy ones on your list, your name moves over into the NICE column. Just sayin'.

So, build up your strength with turkey, and venture out to see this show!

Wishing you and yours the happiest holiday season.
Steph


Picture

The Other Side of Studio Work

11/2/2018

 
Picture
Just thought I'd give you a peek into the other not so glamorous side of glass work. Today I wrapped up a long stint of sculpture-base-making (finally). Boy, just when you are kicking back, sipping your coffee, admiring your new work, thinking you're all done... dang.

But this nice simple design comes to the rescue. It's from Paul Tarlow's book on stand ideas for glass. It's an easy way to make a good, modern base for sculpture.

Here's how the project goes:
  1. Realize you have to turn off the Perry Mason rerun, put on real clothes and get the heck to the studio if you're going to live up to your full potential and prove your grade school teachers wrong.
  2. Buy beautiful clear fir 2x6 boards, each foot costing about the same as a good steak.  Cut them to fit each landscape.
  3. Trace the curve of the landscape onto a board and mark where the pegs will go that will hold the glass snug on the base. Repeat. Repeat. Repeat.
  4. Drill holes for the front pegs, Mark the back pegs (again) and drill holes for them.
  5. Cut wooden pegs to fit in the holes.
  6. Sand, sand, sand, sand.
  7. Sand, sand, sand, sand.
  8. Realize you should not have sanded in your glass studio, even if it was cold outside. Try not to think about the fact that you will have to dust everything in the studio. EVERYTHING. Wonder if wood dust will just burn off in the kiln anyway.
  9. Drill pilot holes for the cute little feet.
  10. Clean up the boards and stain them. Twice. Decide gray is ugly, try to cover it up with another color. Wonder what that weird sensation is in your sinuses.
  11. Wax the bases and buff to a nice glow.
  12. Hammer in the cute little feet.
  13. Stain the pegs and glue them in. Cut plastic tubing and slide it over the pegs.
  14. Whew, finally. Cross your fingers and hope the landscape will fit just snug enough to be secure.
  15. Tell yourself you've earned another hour of watching Perry Mason reruns.
Picture
Picture
Picture
Picture
Picture
Picture
Picture

      Sign up for the newsletter here
      You'll receive a monthly peek at new studio work and updates on shows.

    Great, sign me up!

    Author

    Steph Mader is a full-time glass artist living on Whidbey Island in Washington State.

    Archives

    November 2022
    August 2019
    July 2019
    February 2019
    November 2018
    October 2018
    August 2018
    June 2018
    April 2018
    February 2018
    August 2017
    July 2017
    June 2017
    May 2017
    April 2017
    March 2017
    November 2016
    September 2016
    August 2016
    July 2016
    April 2016
    March 2016
    February 2016
    December 2015
    October 2015
    September 2015
    August 2015
    July 2015
    June 2015
    April 2015
    February 2015
    January 2015

    Categories

    All


      Get news from the studio - sign up here

    Submit

    RSS Feed

Proudly powered by Weebly